🐰Happy Easter Day🐰Shop now with up to 30% off sitewide.
Menu


CircuitPython link: https://circuitpython.org/board/raspberry_pi_pico/
You can choose the pinyin version of Circuitpython to download. It is recommended that students with good English can default to the English version.
Downloaded Firmware File
Step 1: Insert USB into the computer, without connection with Pico.
Step 2: Push the button of BOOTSEL of Pico tightly and insert Pico into USB.
Step 3: Continue pushing the button of BOOTSEL until the driver RPI-RP2 is shown.
Step 4: Copy the firmware of CircuitPython into the driver RPI-RP2.
Step 5: After installation, the driver RPI-RP2 disappeared. Then a new driver of CIRCUITRY arises.
Install Thonny editor: https://thonny.org/, then click on the version of windows and install it.
Install Thonny to the specified location of your computer.
Choose the button of the file of view on the platform Thonny.
Click on the option of running interpreter of running.
Choose CircuitPython (Normal) and port, and click on the button confirmation.
After being finished, shown below.
Terminal input(‘Hello Pi pico’)
Edit print(‘Hello Pi pico’) in the editor of the file and serve this to the computer or the device of CircuitPython.
Click on the running button and check out the running result.
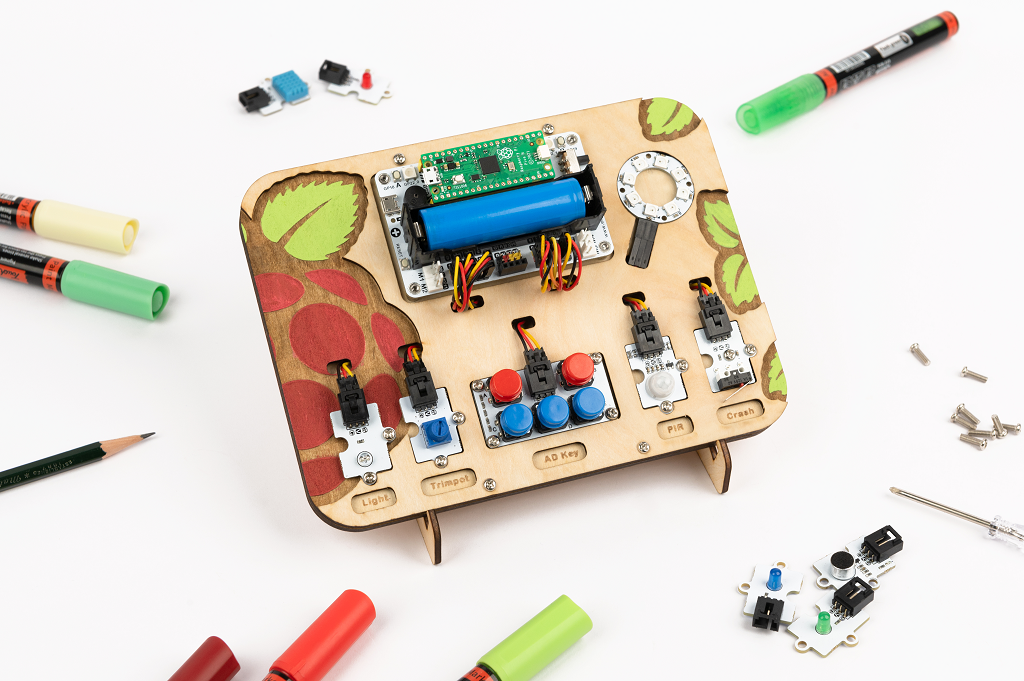
Tool: Use Wukong 2040 Breakout Board and the sensor of Octopus.
Target: Drive the GP27 pin to a high level to light up the led light.
Build one setled.py file and put it in the catalog of \lib.
CircuitPython
import time
import board
import pwmio
import digitalio
import neopixel_write
import asyncio
from micropython import const

class WuKong2040_octpus_Led:
    def __init__(self):
        self.led = digitalio.DigitalInOut(board.GP26)
        self.led.direction = digitalio.Direction.OUTPUT
    def _set_led(self,status,pin):
        self._pin = pin
        self.led = digitalio.DigitalInOut(self._pin)
        self.led.direction = digitalio.Direction.OUTPUT
        self.status = status
        self.led.value = self.status
    def __deinit__(self):
        self.led.deinit()

def set_led(status,pin):
    WuKong2040_octpus_led.__deinit__()
    WuKong2040_octpus_led._set_led(status,pin)


WuKong2040_octpus_led = WuKong2040_octpus_Led()
Call the corresponding interface in the code.py file.
CircuitPython
from setled import *

while True:
    set_led(1,board.GP26)
    time.sleep(0.1)
    set_led(0,board.GP26)
    time.sleep(0.5)
Stay up-to-date with our latest promotions,discounts,sales,and special offers.