Friday Product Post: Servo, Motor Drive Board and Joystick for Micro:bit
January 7, 2019
Master Your Micro:bit with Arduino IDE ——Light LED
January 7, 2019Introduction:
Currently the price of water mattress in the market is still on the high side. Its cooling effect is not so good. Now we have developed a smart mattress based on Arduino that can adjust its temperature between cold and hot. We have referred to the idea of artificial intelligence and made Arduino learn by itself to realize precise temperature control. Let’s see the effect first.
Note: We will continuously update our code, refine the temperature data base. I would like you to upload the temperature data base of your devices to help us complete the code faster. (Video)
Tools& Materials We Need:
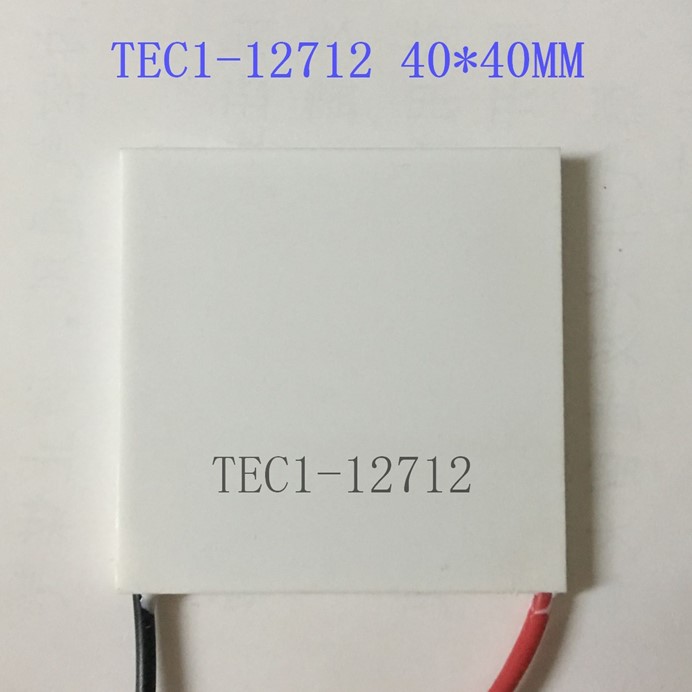
1 X 12712 Cryogenic Chip 40mm x 40mm
1 X Water Cooling Row
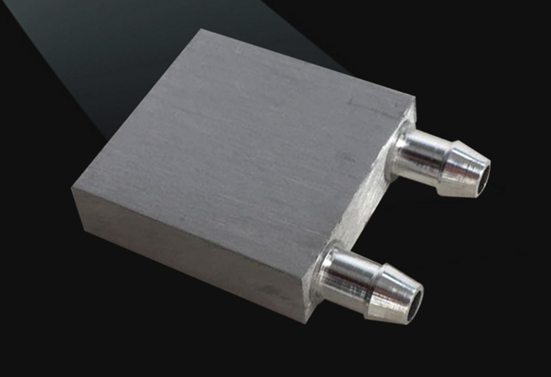
2 X Water Block
1 X ws2812 LED strip
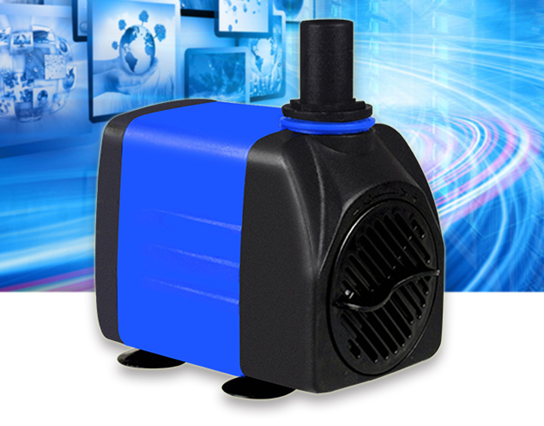
1 X Water Pump 3 W
1 X Water Pump8 W
1 X 12V15A Switch Power
1 X 12V 80mm x 80mm Heat Dissipation Fan
1 X 12V 40mm x 40mm Heat Dissipation Fan
1 X 40mm x 40mm Cooling Fin
1 X IRF540
1 X BSS138
2 X 4.7K Resistance
1 X Water Mattress
1 X BLEduino – BLE for Arduino
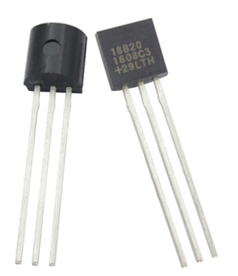
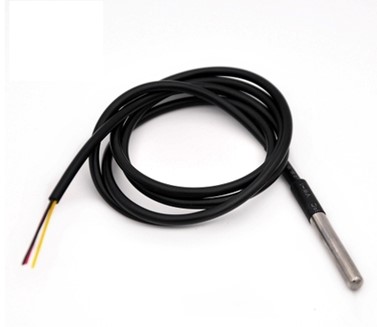
1 X Waterproof DS18B20 Digital Temperature Sensor
1 X DS18B20 TO-92
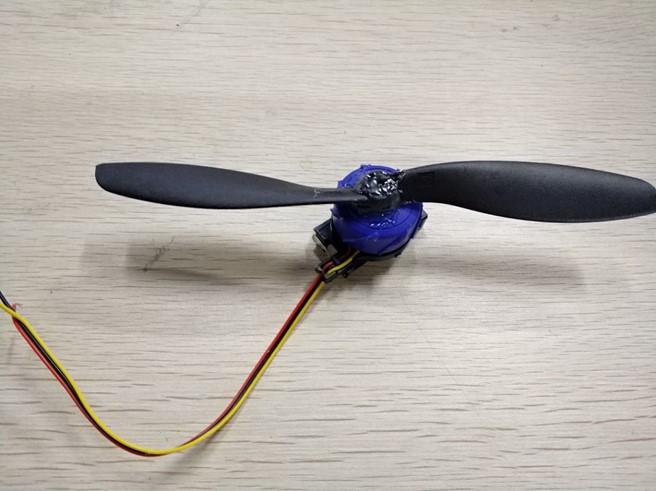
1 X 17.8cm Left and Right Model Aircraft Propeller
2 X 4x30mm Screw 4 * 4*10mm Screw Soldering Station
Thermal Conductive Silicone 8mm Silicon Tubes Electrical Wires Glue Gun Acrylic Board Jig Saw Foam Board
2 X Drink Bottles
Material Selection Reason 12712 Cryogenic Chip:
Higher power rate of cryogenic chip will have higher requirement for heat dissipation. The relative volume, noise and cost will be increased much. When we choose, we should choose the suitable power rate that enough to support the device. 12712 is basically enough to use. But we can select according to the practical situation too.
Water Block:
During the cooling process of cooling fin, it will produce a lot of heat, which can affect cooling effect directly. So we have to prepare a good heat dissipation device. The wind cooling has a simple structure but its effect is normal. Comparatively water cooling effect is much better but with more complex structure. Here I choose water cooling dissipation. First of all, I need water block, water pump, water cooling row and heat dissipation fan. The ordinary aluminum water block is ok.
Water Pump:
We have to pay attention during water pump selection to choose the pimp with big water flow but small hydraulic head. The water pump for heat dissipation has few requirements to pressure. However, if we need big water flow, we have to consider the price, power and noise, factors like that and so on. So I choose 220V 3W water pump finally.
Water Cooling Row & Heat Dissipation Fan:
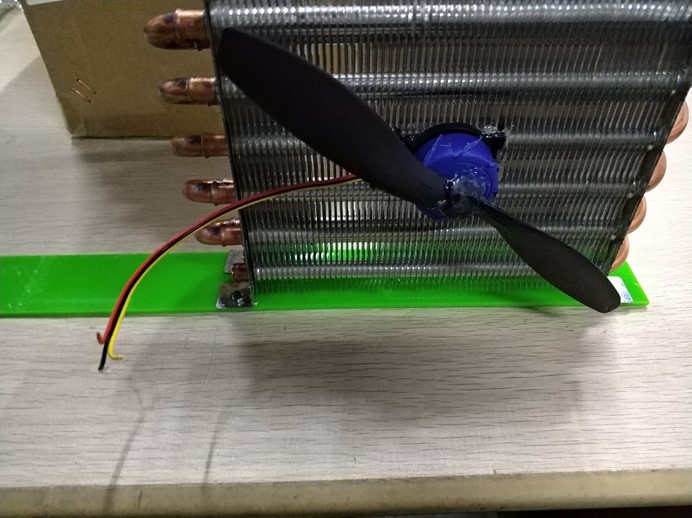
The heat produced by cooling fin will spread into the air through water cooling row because water cooling row is used together with heat dissipation fans. The price of water cooling row is comparatively high, so I choose the condenser within a refrigerator as water cooling row. Although the condenser has big volume, the heat dissipation effect is good.
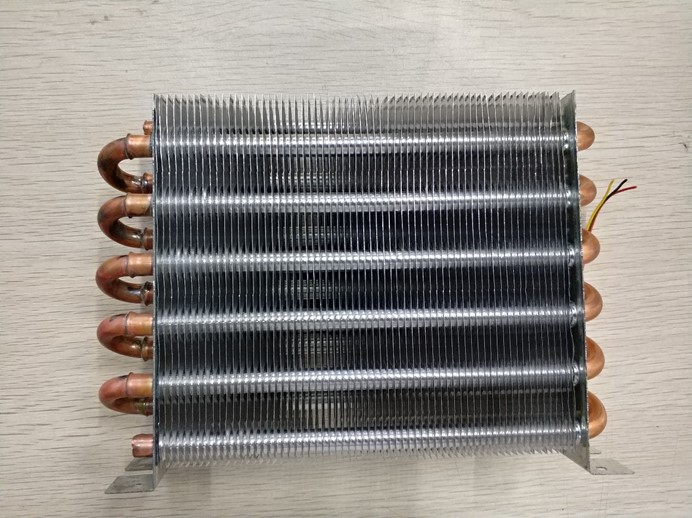
Because the bigger power will have bigger noise. However, the configure fan has big power and I can not find the fan with small power but big dimension I desired in the market, so I have made a heat dissipation fan by myself. I have controlled its power within 3W and the blade size is similar to water cooling row.
DS18B20???/span>
No matter it is refrigeration or heat production, it all needs temperature sensor to give feedback. DS18B20 is a kind of digital temperature sensor. It is not influenced by the power voltage fluctuation. At the same time, it has high accuracy. That’s why I choose DS18B20. I use one to test room temperature and one for testing water temperature.
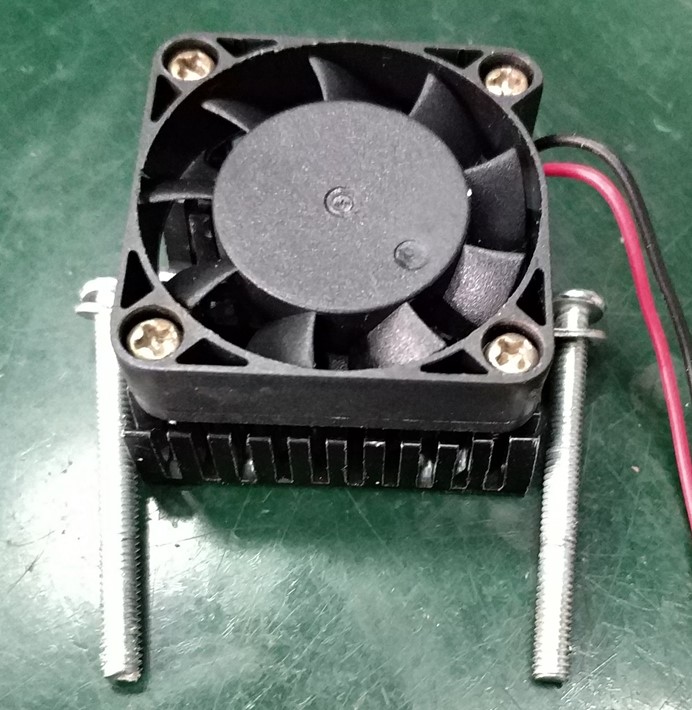
Cooling Fin: The smart mattress I designed has reserved dehumidifier function. So I need a small cooling fin and a small fan to condense the water in cooling fin and make it drip into the bottle underneath.
BLEduino – BLE For Arduino???/span>
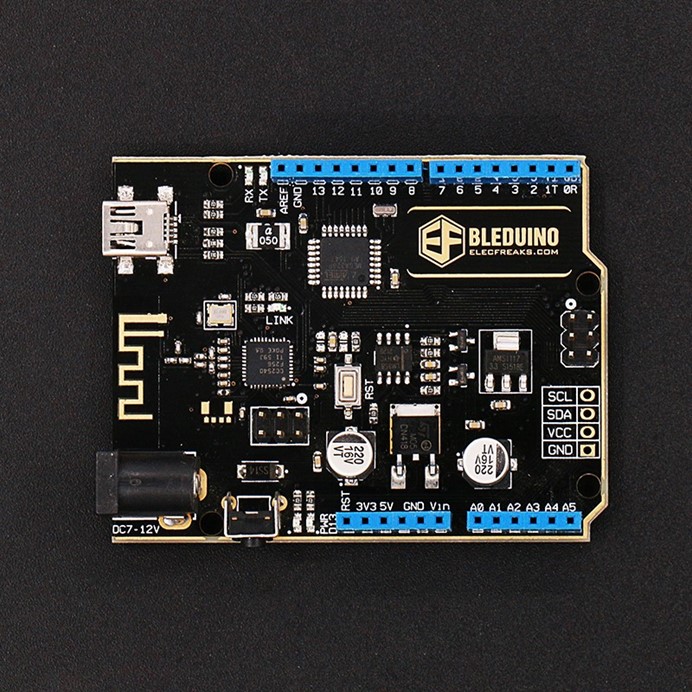
I choose this board because it has integrated Bluetooth. So no more external Bluetooth again.
Water Mattress:
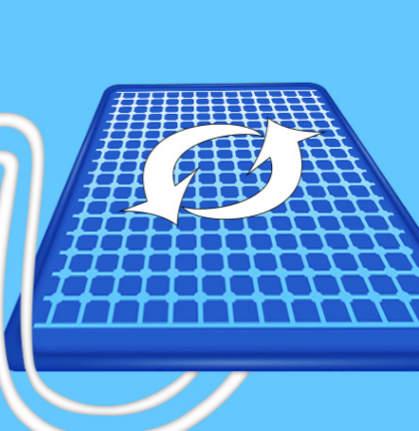
The internal structure of water mattress is showed below. But some people prefer to use copper tube.
Making Procedure:
Step 1: Fix the condenser onto an acrylic base board.
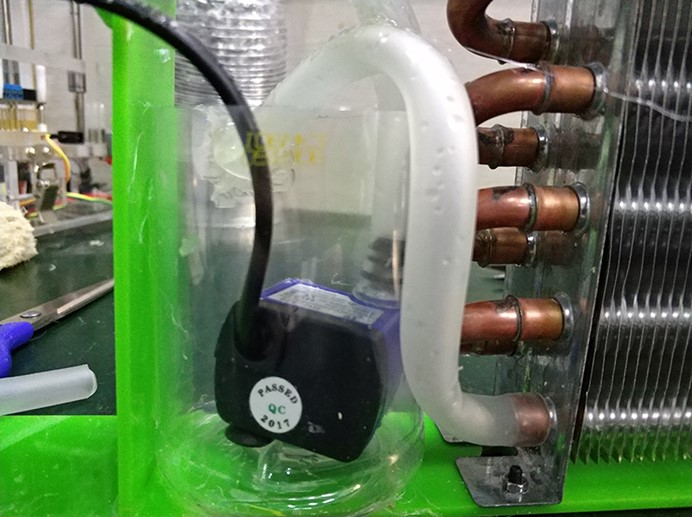
Step 2: Fix thermos bottle. ( It is used to store cooling liquid for heat dissipation. Here I use 3W water pump.)
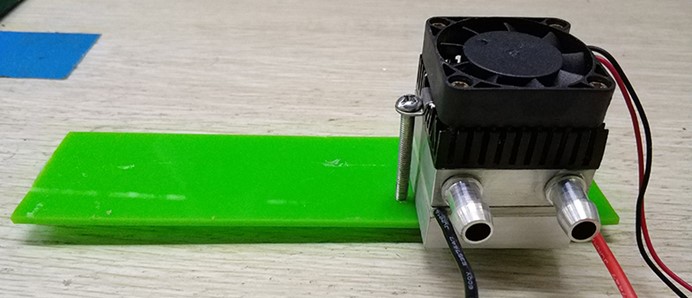
Step 3: Fix cooling fin.
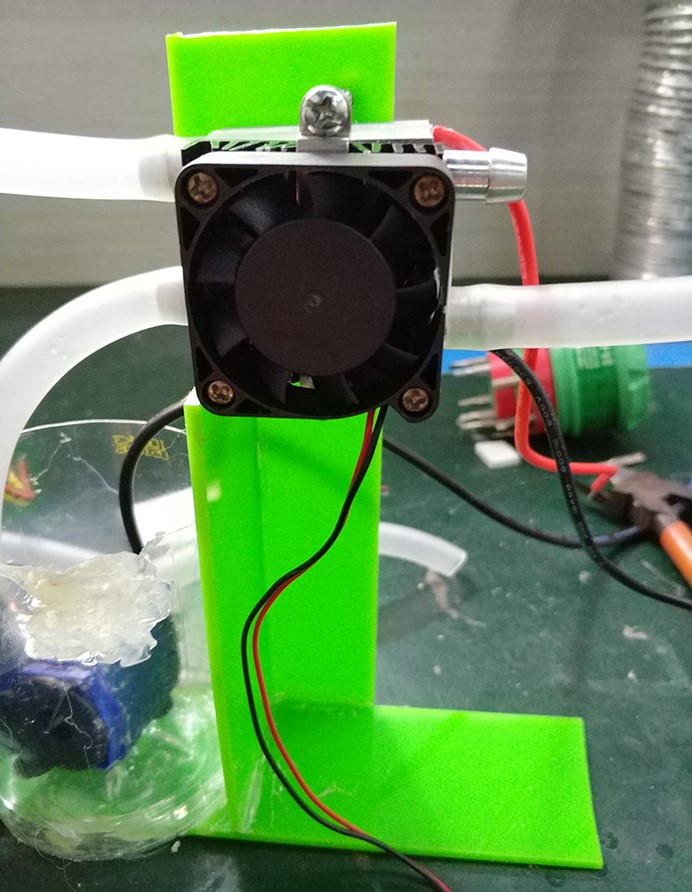
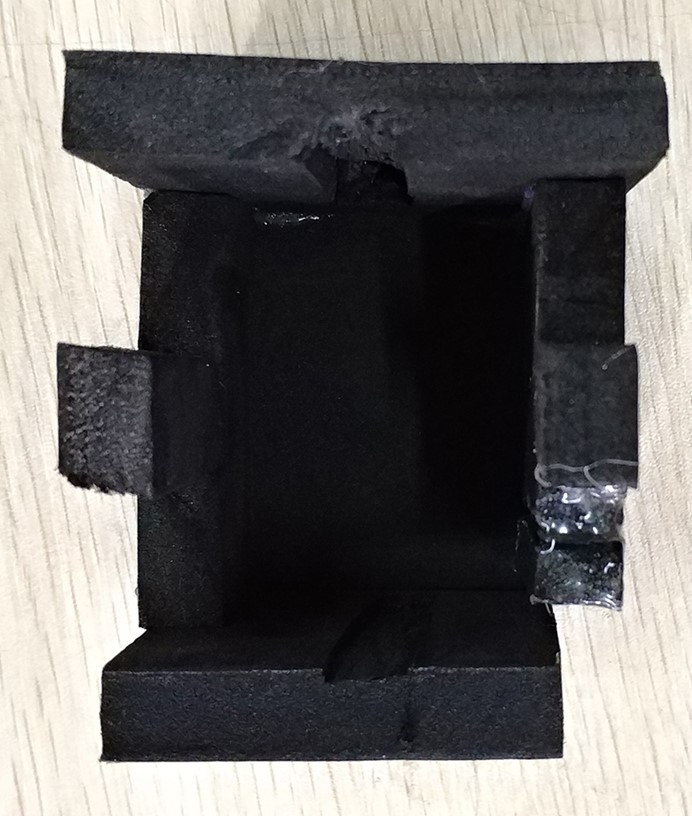
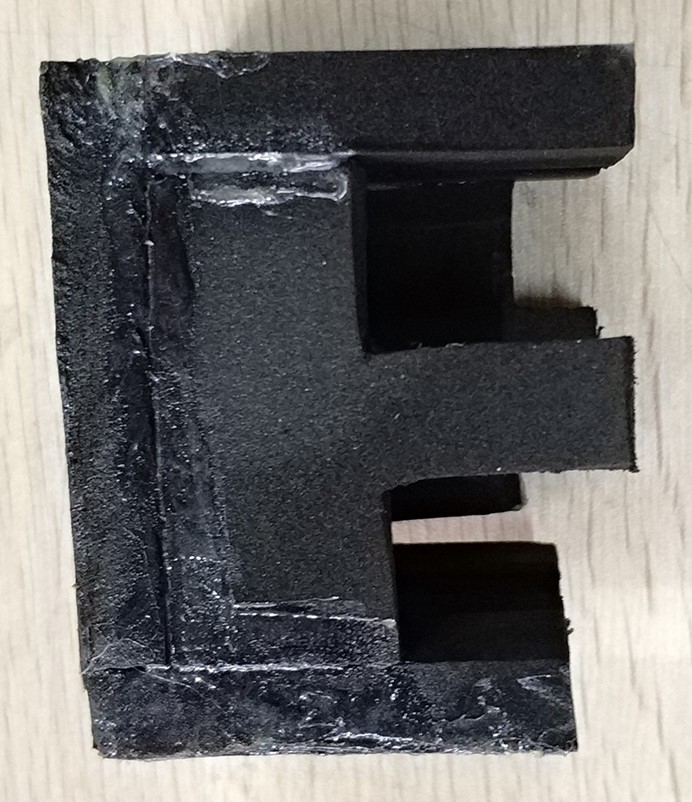
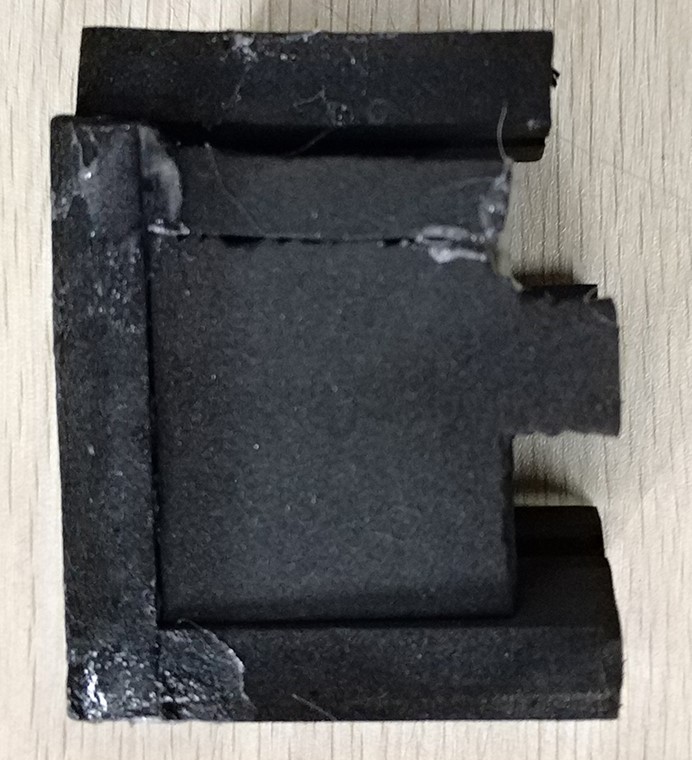
Step 4: Make a muff for cooling fin.( It is used to minimize temperature lost and takes down during dehumidifying process. )
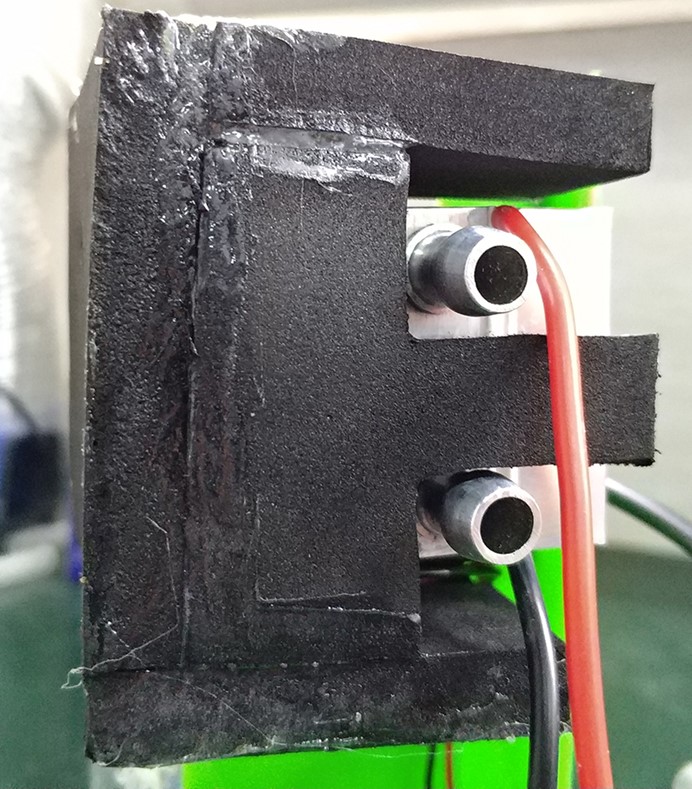
Step 5: Install the circulation bottle for the mattress. The bottle has to be placed underneath the cooling pin so as to hold the water during dehumidifying process. On the side of the bottle, I have drilled a hole in order to make the water flow into the container beneath once it is full in the bottle during dehumidifying process.
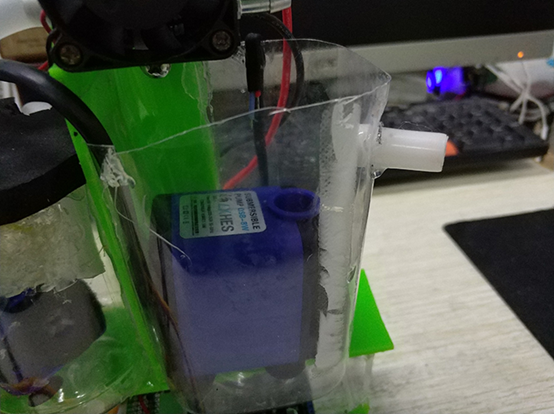
Step 6: Make a base to place power source and control board.


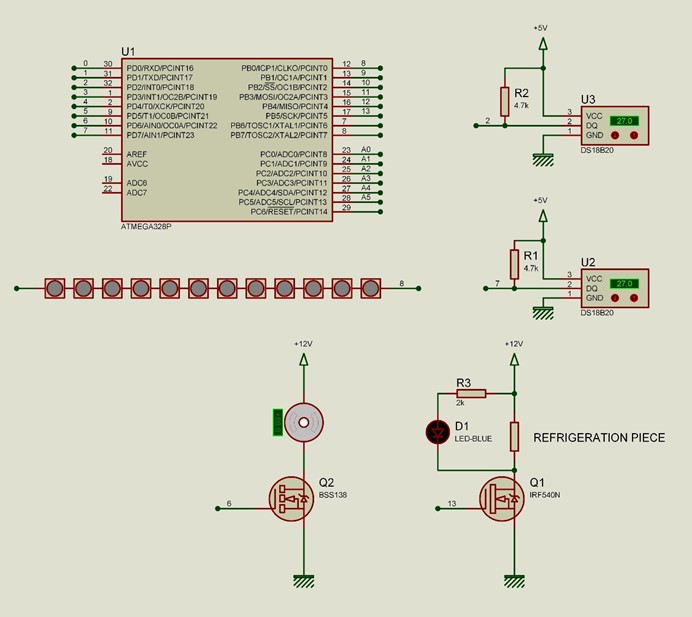
Step 7: Connect circuit. ( The pump connects 220V). If you want to shift refrigeration mode into heat production mode, you only have to change the wire order of cooling fin.
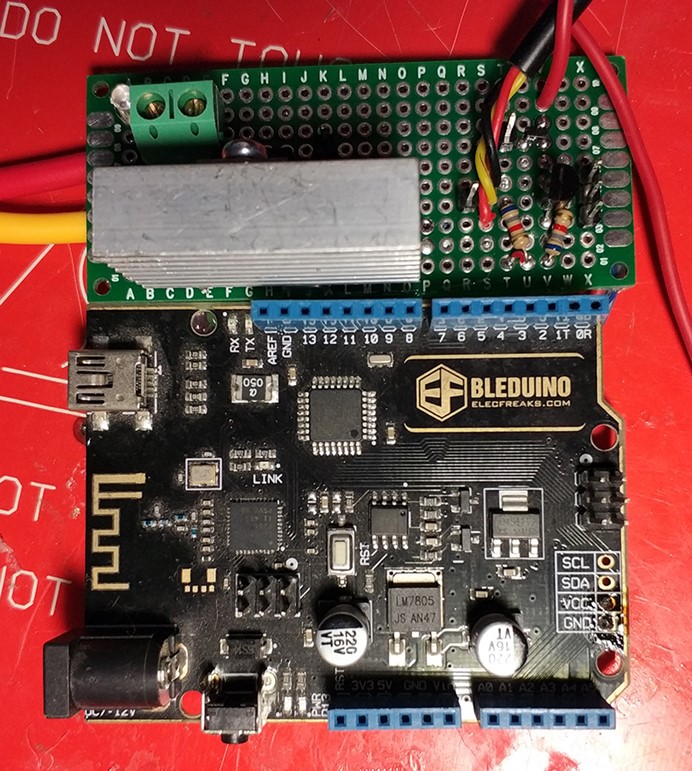
Step 8: Install the supporting foam in the bottom. (In order to hang it on the wall,I have added a cross bar. )

Once the above processes are done, we have to connect the mattress so that we can use it properly.
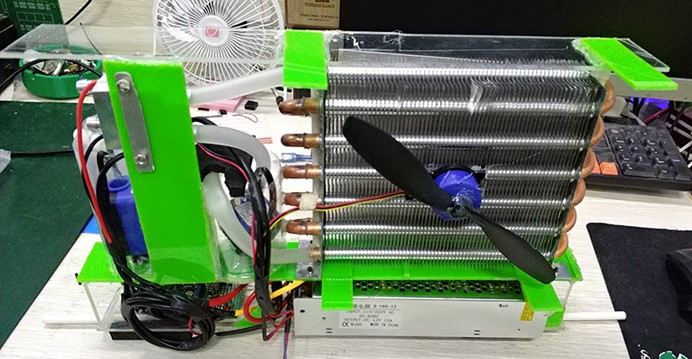
Software: The code can be divided into the following sections:
- ws2812 LED strip.
- ds18b20 temperature read.
- Receiving data and invoke the sub-program for the serial port.
- Temperature data storage.
When I am writing the code, I have referred to the idea of artificial intelligence.We don’t have to set the temperature for the mattress and water. It will invoke the data stored inside eeprom to adjust according to the room temperature. Then, it will send its feedback to the micro-controller. At this time, you can see the micro-controller will calculate a temperature value and then store it into eeprom. With continuous feedback, the water temperature setting will become more and more ideal. We have to read out this data and send it to our mobile for the following update. OneWire OneWire myWire(pin)
Create the OneWire object, using a specific pin. Even though you can connect many 1 wire devices to the same pin, if you have a large number, smaller groups each on their own pin can help isolate wiring problems. You can create multiple OneWire objects, one for each pin.
myWire.search(addrArray)
Search for the next device. The addrArray is an 8 byte array. If a device is found, addrArray is filled with the device’s address and true is returned. If no more devices are found, false is returned.
myWire.reset_search()
Begin a new search. The next use of search will begin at the first device.
myWire.reset()
Reset the 1-wire bus. Usually this is needed before communicating with any device.
myWire.select(addrArray)
Select a device based on its address. After a reset, this is needed to choose which device you will use, and then all communication will be with that device, until another reset.
myWire.skip()
Skip the device selection. This only works if you have a single device, but you can avoid searching and use this to immediatly access your device.
myWire.write(num);
Write a byte.
myWire.write(num, 1);
Write a byte, and leave power applied to the 1 wire bus.
myWire.read()
Read a byte.
myWire.crc8(dataArray, length)
Compute a CRC check on an array of data.
|
Operation:
Open BLECenter App

Once the voice message of “connected” is heard, it is connected successfully.Then enter into the interface of Console.
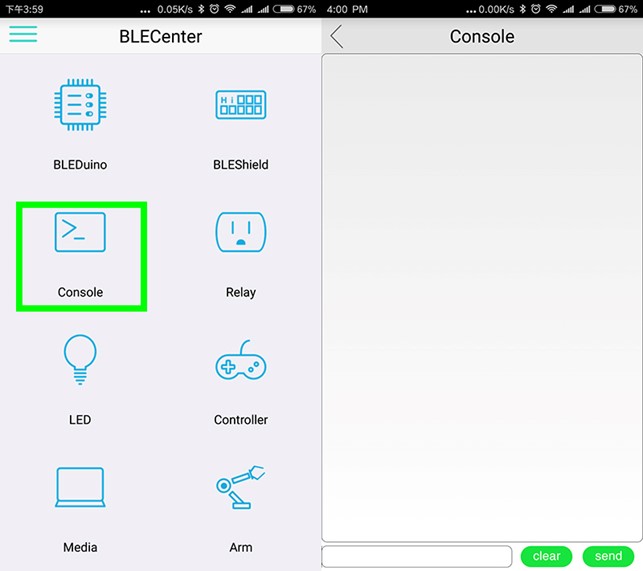
Send the following data:
0: Big temperature increase.
1: Small temperature increase.
2: Small temperature decrease.
3: Big temperature decrease.
4: Temperature increase but not stored into EEPROM.
5: Temperature decrease but not stored into EEPROM.
6: Recover to the normal temperature.
7: Read room temperature and water temperature.
8: Read temperature library data base.
9: Dehumidifying mode.
a: Change to the next light color.
b: Change to the former light color.
c: Rainbow color.
Relative Readings: Flexible 64 RGB LED 8*8 Rainbow Gradient Light the First Bead on 8*8 NeoPixels Matrix with Arduino


