3D Print Files Design Tips for FDM Printers 2
January 10, 2019
ElecFreaks being Indiegogo Crowdfund with the ELF-VRdrone
January 10, 2019The past two years has seen a lot of low-cost desktop 3D printers, which are mostly based on FDM, such as the most well-known Makerbot, Ultimaker, Reprap and more others. The requirements on 3D print files may differ a lot depending on the type and the processing method of the 3D printer. In this article we’ll focus on how to design the 3D software specifically for FDM machines, in addition to some precautions.
1. The 3D design models must be the same size up and down, or large lower part and small upper part structure.
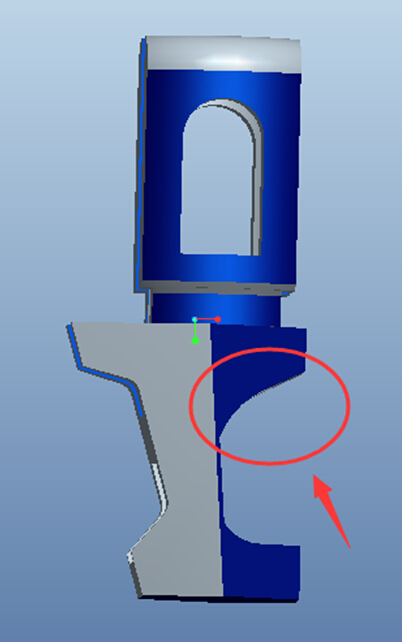
As we all know about the principle of 3D printing – or “additive manufacturing, AM, additive processes are used, in which successive layers of material are laid down under computer control.” (quoted from wikipedia) , so if the lower part is smaller than the upper, the top will easily collapse down due to a lack of support. Thus, if this occurs, it will impact the printing results, or eventually leads to failure. Let’s look at an example.
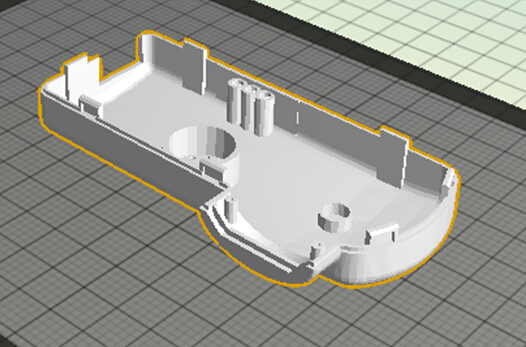
It’s the former ELF motor mount. The red part in the circle is exactly the above mentioned flawed structure which is easy to collapse. When you finish printing such a thing, you’ll find that the surface is unexpectedly rough. Since the base is firmly glued to the hotbed, with the layers’ weight laid on it, it’s very easy to fall down and break. Though the average success rate remains 70% or less.
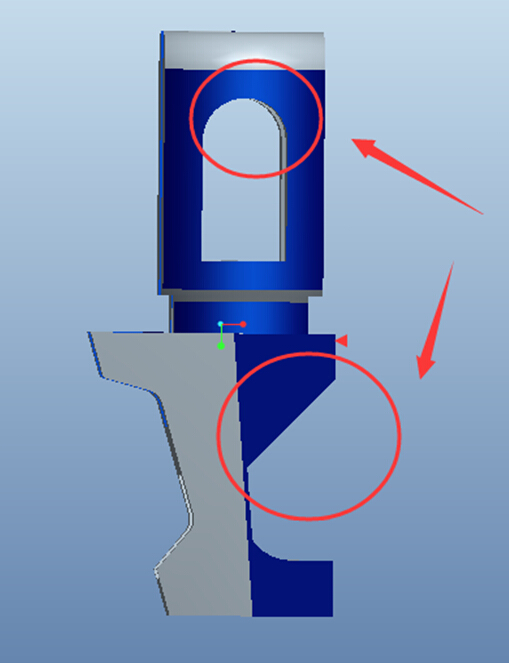
2. If the model has to be “large upper par and small lower part”, you need to remember the “45-degree” rule or try to adopt arc structure.
Change the structure where the curves drop sharply as the above image shows, into a 45-degree angle. This will help improve the print quality. Likewise, using the arc structure will help avoid collapse as much as possible.
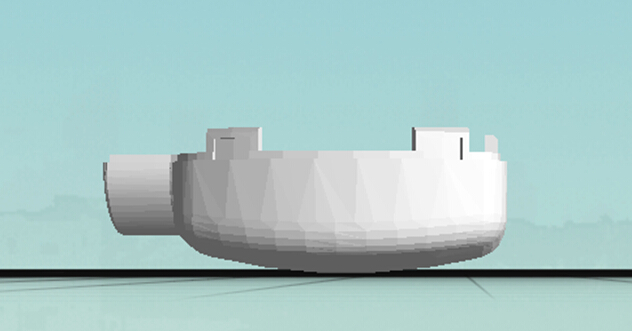
3. Try to design a flat base. It is crucial because it eliminates the trouble of the later removal of the support, saving filaments.
The bottom surface of the arc cannot be printed directly, except that you increase the base and support. After printing, you have to spend much energy to wipe off the base to only find that the finished very rough in shape.
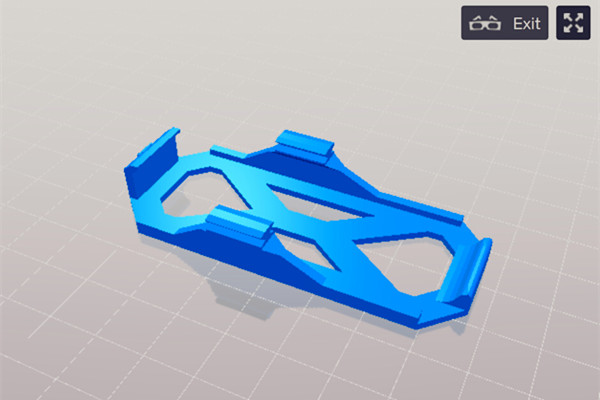
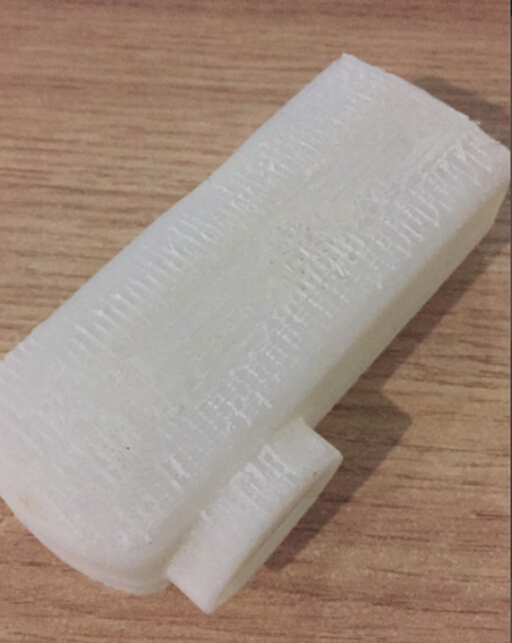
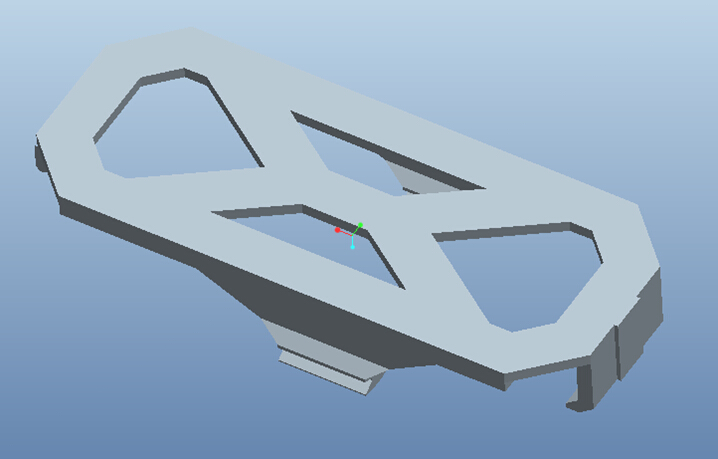
This is the finished print after initial grinding, hard to accept though. The image below shows the 3D print file for the ELF VRdrone battery case. (Access on Makerbot Thingivese)
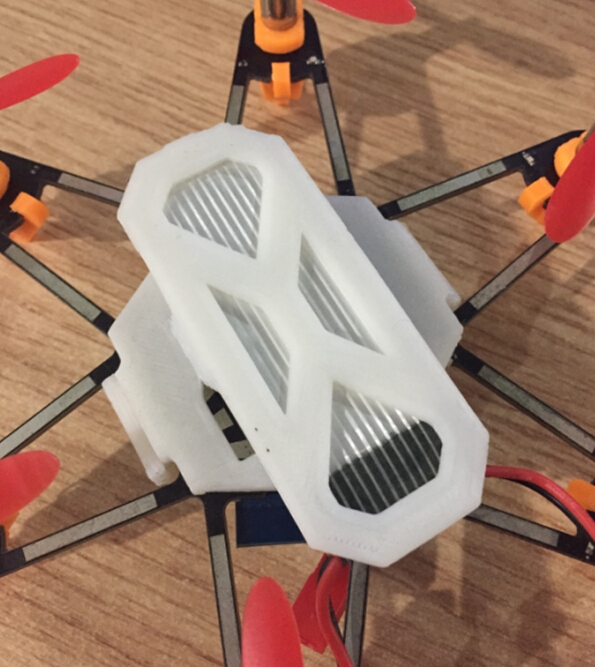
It is the print without any post processing.
4. How do we do to guarantee the strength? Larger contact area between layers.
3D print parts, unlike the injection molding or CNC as a complete block of plastic, are of different degrees of solidity, which largely depends on the viscosity between layers. So the only way to improve the model is to increase the contact area between them. Let’s take the same model as an example, while the print method changes, the strength changes.


